WordPress Installation for Beginners: Complete Step-by-Step Guide
Introduction
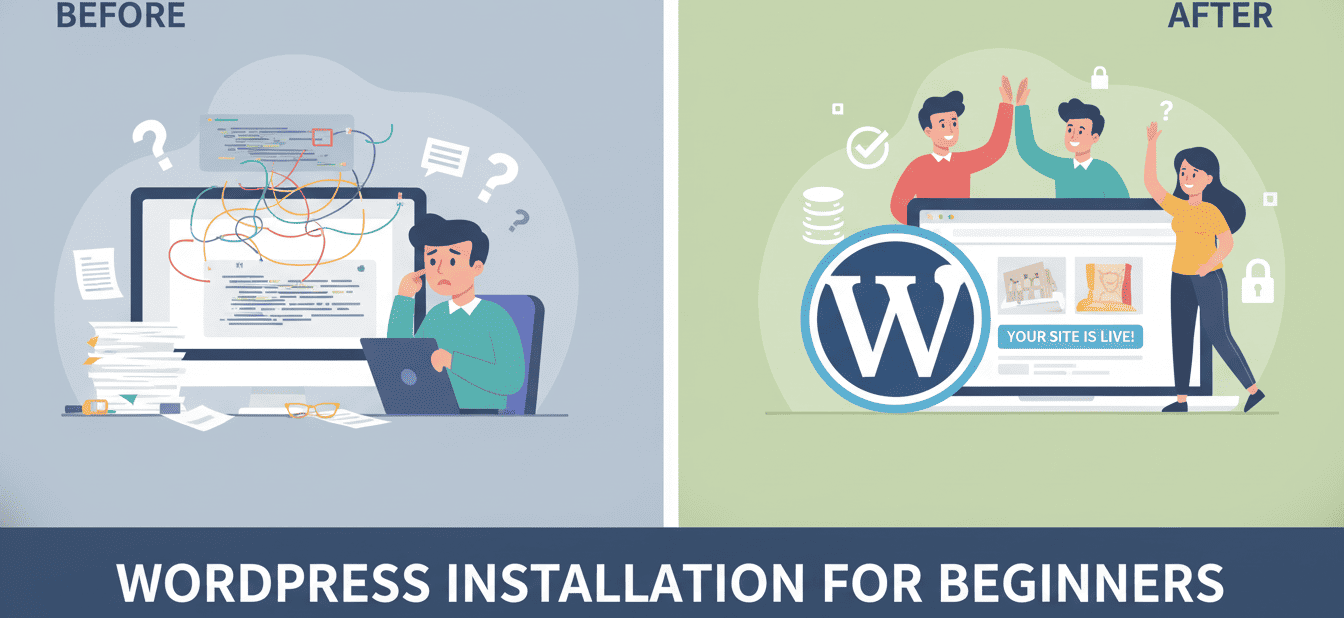
Launching a new website can feel overwhelming, but mastering the WordPress Installation for beginner’s the critical first step to getting online.
Table of Contents
- WordPress Installation for Beginners: Complete Step-by-Step Guide
- Introduction
- Connecting Domain and Hosting
- Preparing Hosting Environment / cPanel
- Planning WordPress Installation
- Installing WordPress Step-by-Step
Connecting Domain and Hosting
Connecting your domain and hosting is the first step in making your website live. Your domain is your website address, and hosting is the storage space where your website files are kept. By connecting them, visitors can access your website through your domain.

Step-by-Step Process:
- Log in to your domain registrar: This is the account where you bought your domain (e.g., GoDaddy, Namecheap).
- Find DNS or Nameserver settings: Look for “DNS Management” or “Nameservers” in your domain account dashboard.
- Get your hosting nameservers: Your hosting provider will provide 2–4 nameservers (e.g., ns1.hosting.com, ns2.hosting.com).
- Enter the nameservers in your domain account: Copy and paste exactly as given.
- Save changes: It can take anywhere from 2 to 24 hours for the domain to point to your hosting server (this is called DNS propagation).
Tip for Beginners:
- Double-check nameservers to avoid errors.
- You can use free online tools like “WhatsMyDNS.net” to check if the domain is pointing to your hosting.
Preparing Hosting Environment / cPanel
Before installing WordPress, your hosting environment must be ready. Most hosting providers use cPanel, which is a simple dashboard to manage all hosting settings. This includes creating databases, managing emails, and enabling security features.
Step-by-Step Process:
- Log in to cPanel: Use the credentials provided by your hosting company.
- Check PHP and MySQL versions: WordPress works best with PHP 7.4+ and MySQL 5.6+. Most hosts have this pre-installed.
- Create a database: WordPress needs a database to store your posts, pages, and settings. In cPanel:
- Go to MySQL Databases → Create a new database → Add a user → Assign user to database with all privileges.
- Set up an email account (optional): Useful for WordPress notifications, password recovery, and communication.
- Enable SSL certificate: Most hosts offer free SSL via Let’s Encrypt. This ensures your website is secure (HTTPS).
Tips for Beginners:
- Always write down your database name, username, and password; you’ll need them during installation.
- Ensure SSL is active before installation to avoid future errors.
Planning WordPress Installation
Proper planning makes your WordPress installation smoother and more secure.
i. Choose Installation Method:
- Manual Installation: Upload WordPress files via cPanel → Configure database → Run installer.
- One-Click Installer (Recommended for Beginners): Use tools like Softaculous, Fantastico, or QuickInstall in cPanel. These automatically set up WordPress with minimal effort.
ii. Select Admin Username:
- Do not use “admin” as your username; it’s common and insecure.
- Choose a unique username with letters, numbers, and special characters.
- Example: SiteAdmin2025
iii. Decide on URL Structure (Permalinks):
- WordPress allows you to choose how URLs look.
- Recommended structure: www.example.com/post-name
- Benefits: Improves SEO and makes URLs readable for visitors.
iv. Secure Site with HTTPS:
- Ensure your SSL certificate is active.
- WordPress will automatically use HTTPS once SSL is installed.
- Benefits: Encrypts data, improves SEO, and builds trust with visitors.
v. Precautions to Take:
- Backup your hosting account and database before installation.
- Make sure your hosting meets WordPress requirements.
- Use strong passwords for admin, database, and email accounts.
- Avoid installing plugins or themes from untrusted sources.
- Keep your hosting and WordPress updated regularly.
Installing WordPress Step-by-Step
Recommended Method for Beginners: One-Click Installer
- Log in to your hosting cPanel.
- Go to Softaculous or WordPress Installer.
- Click Install WordPress.
- Choose your domain name where you want WordPress installed.
- Enter site details: Site name, tagline, admin username, password, and email.
- Select language (e.g., English).
- Choose plugins or themes (optional; you can install later).
- Click Install.
- After installation, you’ll see a login URL (usually www.yourdomain.com/wp-admin).
Tips:
- Save your admin login info securely.
Log in to your WordPress dashboard and check that your site loads correctly.
Other Blogs

Available Services
- Planning With Integrated Digital Marketing
- Strategic SEO for Organic Visibility
- Performance Data Analysis & Reporting
- Targeted Audience Re-Engagement Campaigns
- Conversion-Focused Website Design & Build
- Precision Paid Media Strategy & Execution
- Conversion Funnel Optimization & Testing (CRO)
- Brand Reputation Monitoring & Protection
- Full-Spectrum Social Media Management
Follow Us
Advertisement
Advertisement example
Leave a Reply